
Building your own computer can be a rewarding experience, whether you need a high-performance gaming rig, a workstation, or just a personal PC tailored to your needs. While assembling a PC may seem daunting, it’s a straightforward process when broken down into steps. In this guide, you’ll learn everything from selecting the right components to assembling and setting up your new system.
1. Choosing the Right Components
Before you start assembling your computer, you need to gather the right parts. Here are the essential components:
1.1. Processor (CPU)
The CPU (Central Processing Unit) is the brain of your computer. Popular brands include Intel and AMD. Consider factors like:
- Performance needs – Are you gaming, editing videos, or just browsing the web?
- Core count – More cores mean better multitasking and performance in demanding tasks.
- Compatibility – Ensure the CPU fits the motherboard socket type.
1.2. Motherboard
The motherboard connects all your components. Choose based on:
- Socket compatibility – Ensure it matches your CPU.
- Form factor – ATX (large), Micro-ATX (medium), and Mini-ITX (compact).
- Features – USB ports, Wi-Fi, Bluetooth, and expansion slots.
1.3. Memory (RAM)
RAM determines how efficiently your computer can handle multiple tasks.
- At least 8GB for general use; 16GB or more for gaming or heavy tasks.
- DDR4 and DDR5 are the latest generations – Check motherboard compatibility.
- Higher MHz means faster performance, but check the motherboard’s limits.
1.4. Storage (SSD/HDD)
Your storage determines how quickly your system loads.
- SSD (Solid State Drive) – Faster and more reliable than HDD.
- HDD (Hard Disk Drive) – Cheaper but slower; good for bulk storage.
- NVMe SSDs – The fastest option, connected via PCIe.
1.5. Graphics Card (GPU)
Essential for gaming and video editing. Choose based on:
- Integrated vs. Dedicated GPU – If your CPU has integrated graphics, a GPU may not be necessary.
- AMD vs. NVIDIA – Two major brands; NVIDIA offers RTX series with ray tracing, while AMD has RDNA-based GPUs.
- VRAM (Video Memory) – 4GB is the minimum, but 8GB+ is better for high-end gaming and 4K rendering.
1.6. Power Supply (PSU)
A good power supply unit (PSU) ensures stable performance.
- Choose at least 80 Plus Bronze certification for efficiency.
- Estimate power needs using an online PSU calculator (e.g., 500W–750W for most builds).
- Modular PSUs allow you to connect only the cables you need, reducing clutter.
1.7. Case (Chassis)
The case houses your components. Consider:
- Size – ATX (large), Micro-ATX, Mini-ITX (small).
- Airflow – Cases with mesh panels provide better cooling.
- Aesthetics – RGB lighting, glass panels, and customizable options.
1.8. Cooling System
To prevent overheating, consider:
- Air Cooling – Standard CPU coolers or aftermarket fans.
- Liquid Cooling – More efficient, recommended for high-performance builds.
- Case Fans – Improve airflow and reduce heat buildup.
2. Assembling Your Computer
Once you have all your components, it’s time to build your PC. Follow these steps carefully.
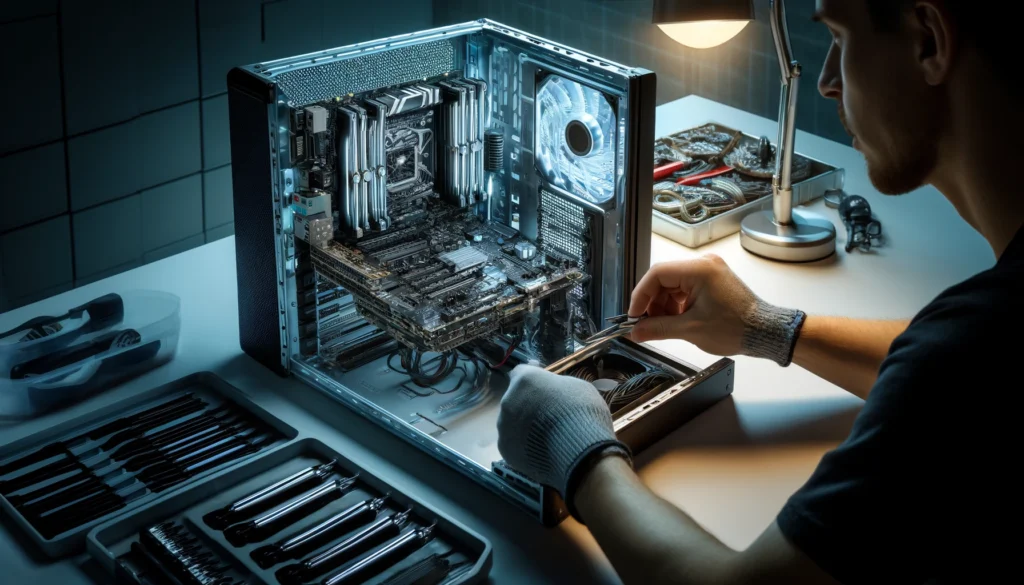
2.1. Prepare Your Workspace
- Use an anti-static wristband to prevent static electricity damage.
- Work on a non-metal surface and keep tools ready.
- Ensure good lighting to see small connectors and screws.
2.2. Install the CPU
- Open the CPU socket lever on the motherboard.
- Align the triangle mark on the CPU with the socket.
- Gently place the CPU in and lock the lever.
2.3. Install RAM
- Locate the RAM slots on the motherboard.
- Align the notch on the RAM stick with the slot.
- Press down until you hear a click.
2.4. Install the Storage (SSD/HDD)
- For SATA SSDs/HDDs: Connect them to the motherboard via SATA cables.
- For NVMe SSDs: Insert them into the M.2 slot and secure them with a screw.
2.5. Install the Power Supply (PSU)
- Place the PSU inside the case’s PSU shroud.
- Route the 24-pin and 8-pin cables to the motherboard.
- Connect SATA power to storage drives.
2.6. Install the Motherboard
- Align the motherboard with the standoff screws in the case.
- Secure it with screws, ensuring it’s firmly in place.
2.7. Install the Graphics Card (GPU)
- Locate the PCIe x16 slot on the motherboard.
- Insert the GPU firmly until it clicks.
- Secure it with screws and connect the PCIe power cable from the PSU.
2.8. Connect Case Fans & Front Panel Cables
- Connect case fans to the motherboard’s fan headers.
- Plug in front panel connectors (power button, USB, audio, etc.).
3. Setting Up the Software
3.1. Enter the BIOS
- Turn on your PC and press DEL or F2 to enter the BIOS/UEFI menu.
- Check if all components are detected (RAM, storage, CPU, GPU).
- Set boot priority to USB if installing Windows.
3.2. Install the Operating System
- Create a bootable USB drive with Windows/Linux.
- Insert it, boot from USB, and follow the installation steps.
3.3. Install Drivers & Updates
- Download and install motherboard, GPU, and peripheral drivers.
- Update Windows and install antivirus software for security.
4. Final Adjustments & Testing
4.1. Monitor Temperatures
Use software like HWMonitor or MSI Afterburner to check CPU & GPU temperatures.
4.2. Stress Testing
Run tests with Cinebench, Prime95, or FurMark to ensure stability.
4.3. Optimize Performance
- Enable XMP in BIOS for faster RAM speeds.
- Adjust GPU settings using NVIDIA Control Panel or AMD Radeon Software.
Conclusion: Enjoy Your Custom PC!
Congratulations! You’ve successfully built your own computer. Whether for gaming, work, or daily tasks, your custom-built PC will provide better performance and flexibility than a prebuilt one. Regular maintenance, software updates, and cooling adjustments will keep your system running smoothly.
Now, time to install your favorite programs and enjoy your new machine! 🚀